AXFR transfer with Master zone in ClouDNS
AXFR of a Master DNS Zone to a Third-Party Slave DNS Provider
You have probably wondered what steps you need to follow if your Primary DNS zone is hosted locally and you want to set up a Secondary zone with a third-party DNS provider. The good news is that the process is actually quite simple. In this article, we will walk you through the steps.
Create a Master zone
First, of course, you need to have a master zone created. We assume this step is already done, but we are still obligated to provide a reference to the article and instructions on how to do it, in case you are not familiar with the process.
What are the main steps we need to follow?
- Know Your Available Name Servers
It is very important to know which name servers are available for your account. If you don't know them, you can always find them by clicking the Available name servers button on the Dashboard page, in the DNS Hosting section. When setting up the secondary zone with the other provider, you will be required to provide a Primary IP, which is actually one of the IP addresses of your name servers.
We recommend using an IP from the paid name servers (such aspns.cloudns.netanddns.cloudns.net), not the free ones (such as ns.cloudns.net). - Zone Transfers
After accessing the management page of your Мaster zone, you will see a button called Zone Transfer. It is located in the middle, between the "DNS Statistics" and "Update" buttons.
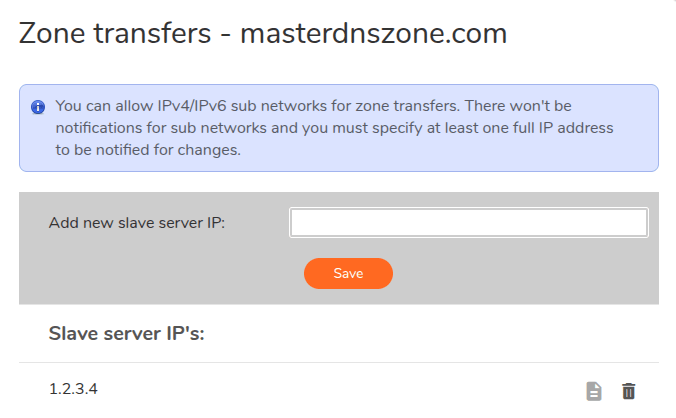
- In the pop-up that opens, you need to enter all the IP addresses that your Secondary DNS provider requires to be added for allow-transfer and allow-notify access.
Last modified: 2025-06-12