This guide will cover two methods for setting up a DNS zone for your WordPress site, depending on whether it is hosted on WordPress.com or a cPanel-based hosting provider. We’ll provide a step-by-step walkthrough for both options to help you configure your DNS settings correctly.
For the purpose of our explanation, we’ll demonstrate the setup process using a domain managed through our DNS hosting service. If you’re using a different provider, the exact steps may vary, but the fundamental process remains the same.
Table of Contents
Set up a DNS zone for sites hosted on WordPress.com
1. Go to https://wordpress.com/ and follow the process to create a web site. Register and log in.
2. Then choose the type of website, from the options, you would like to have.
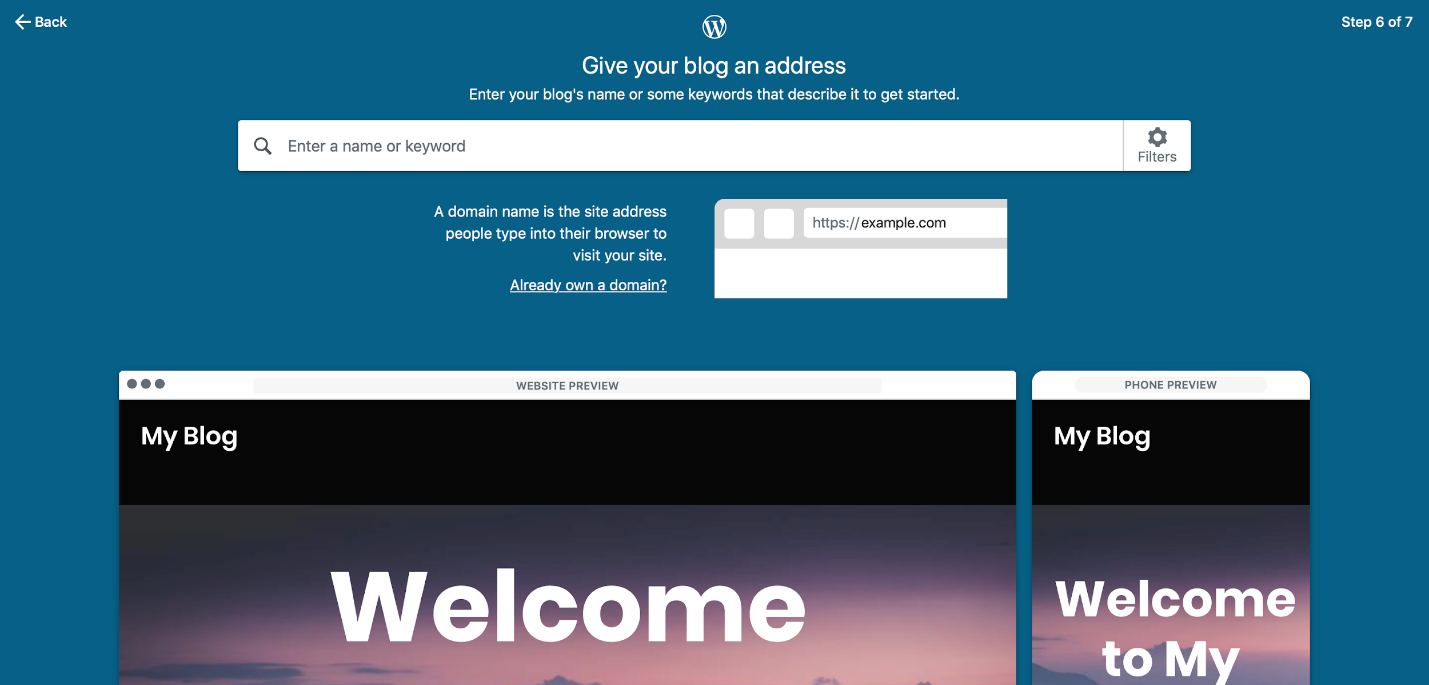
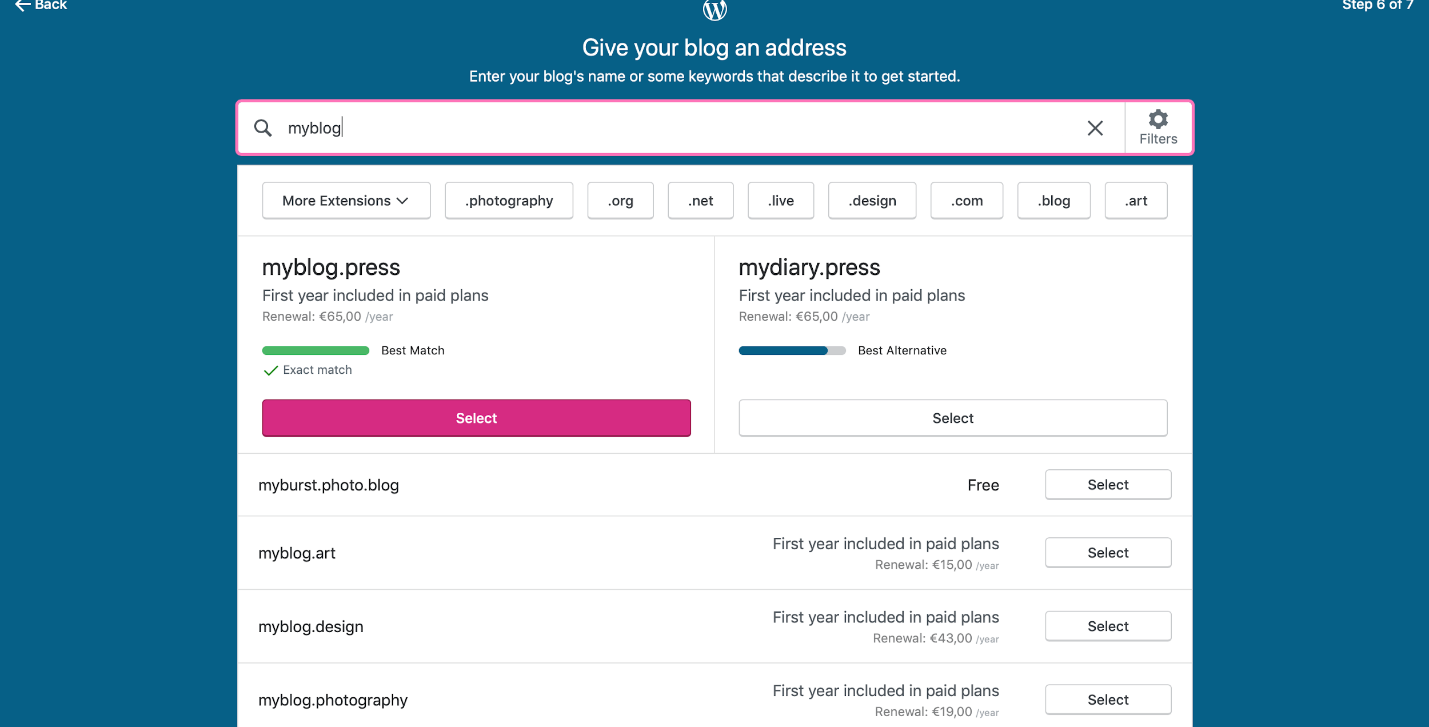
3. Depending on the purpose of it, type a corresponding keyword, or a name you like.
4. Go for the free domain. You will be using the other domain name that you have already bought from us. In this example, the domain we will use is ricki.sx
5. Go to Cloudns.net and log in to your profile. Create a Master DNS Zone file. The Master Zone will let you write and read onto the DNS database.
To create it you must click on DNS zones and then select Master Zone option. Put just the domain name that you bought (without www. Or http://).
Now you have created the DNS zone for WordPress, and it is time to put DNS records.

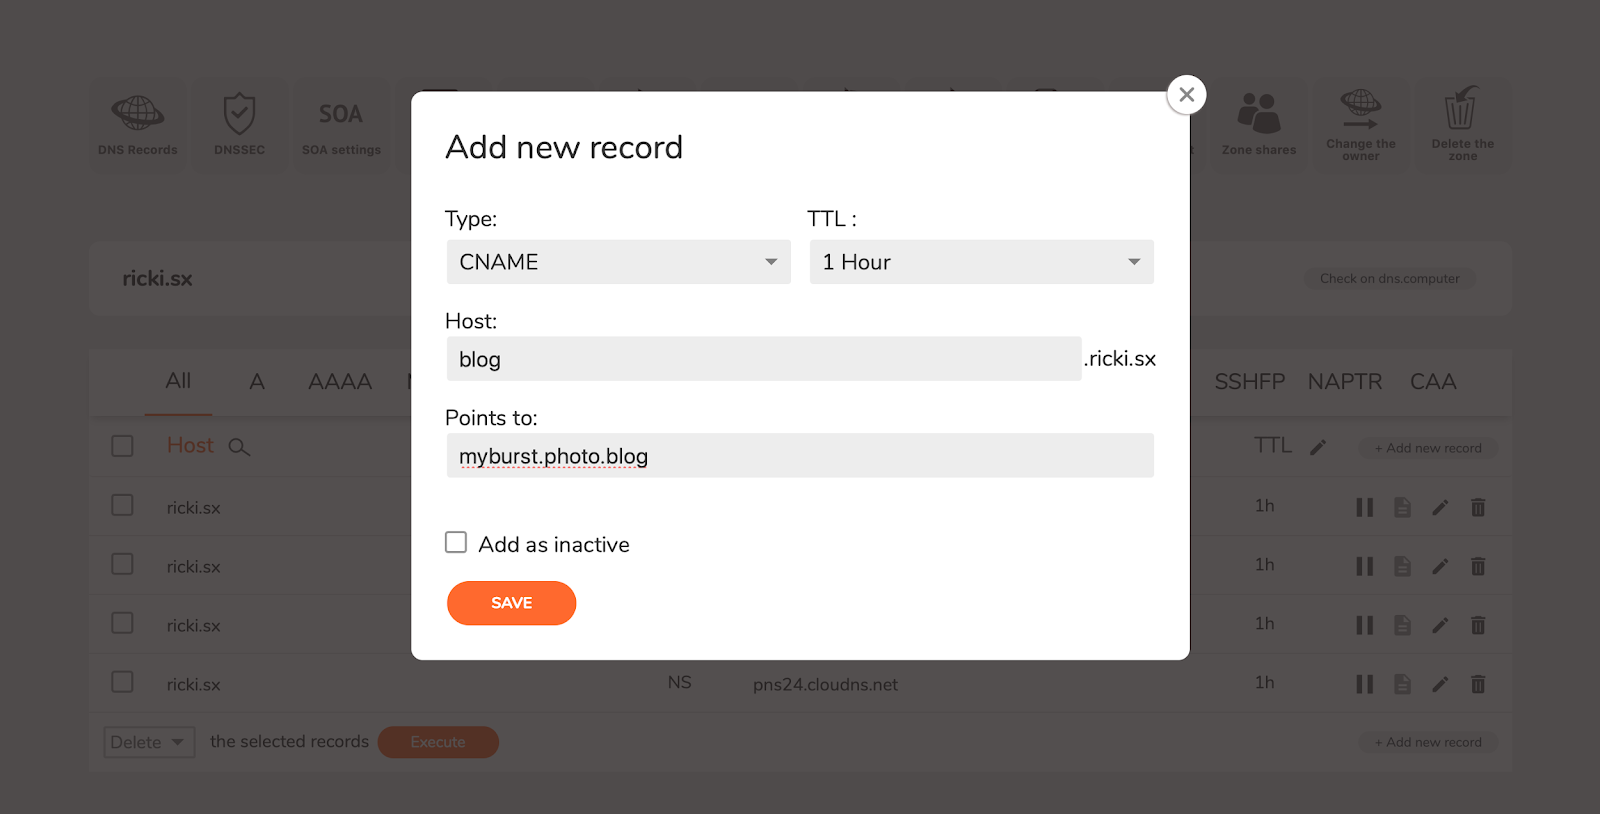
6. We will add a CNAME record that will redirect to where your site is hosted. The CNAME is a canonical record. It serves to show that one domain is an alias for another one.
We will point the blog (blog.ricki.sx) to the domain (myburst.photo.blog) that was given from WordPress.com.
7. Then we will create a permanent redirect (301 redirect) that will map the ricki.sx to http://blog.ricki.sx and another for the www subdomain (www.ricki.sx) to the same.
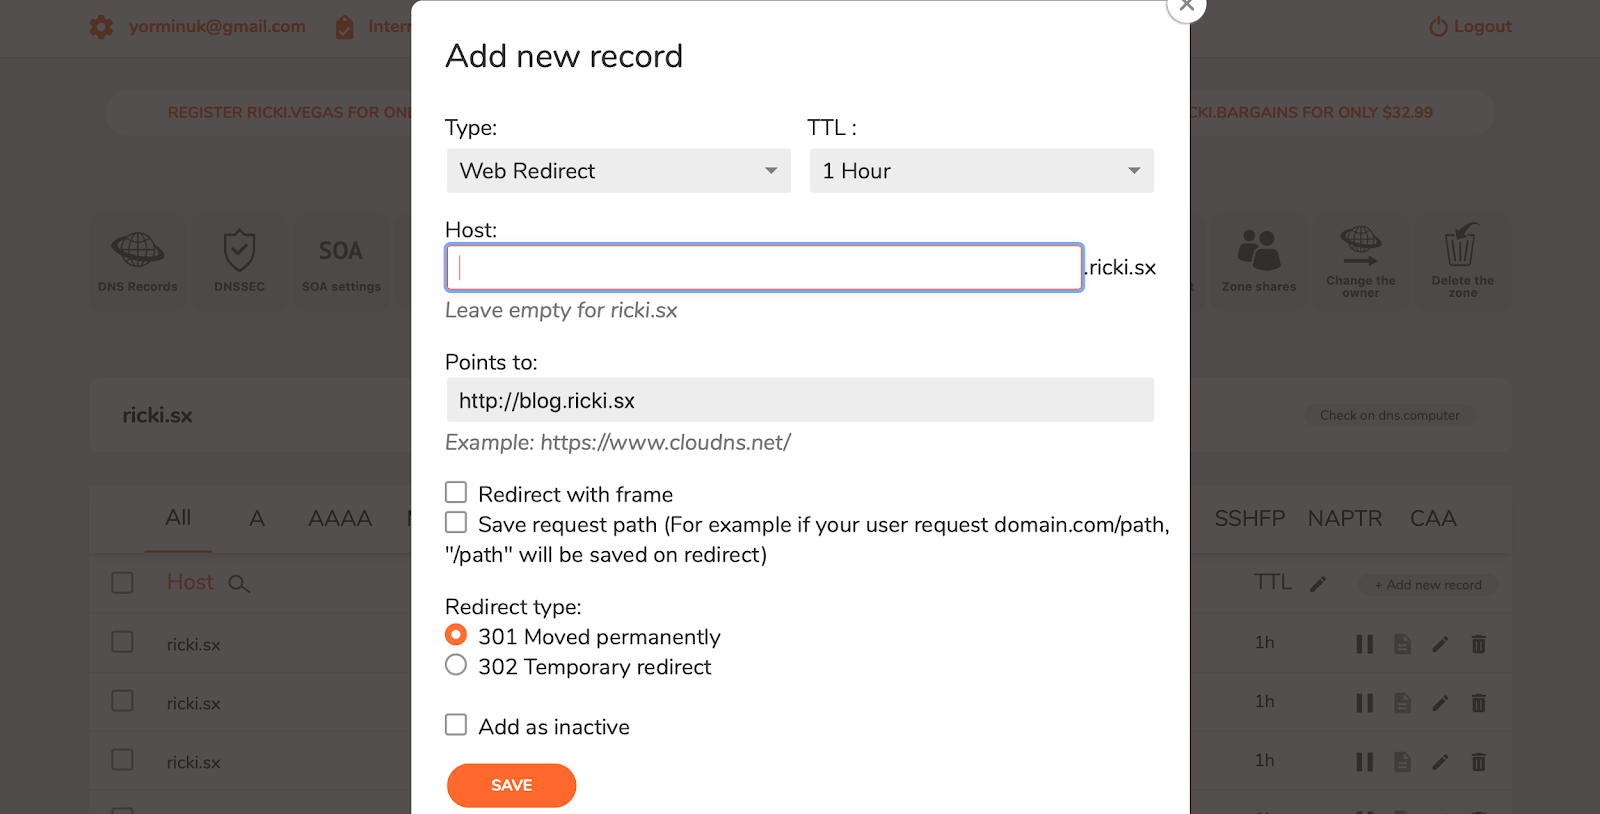

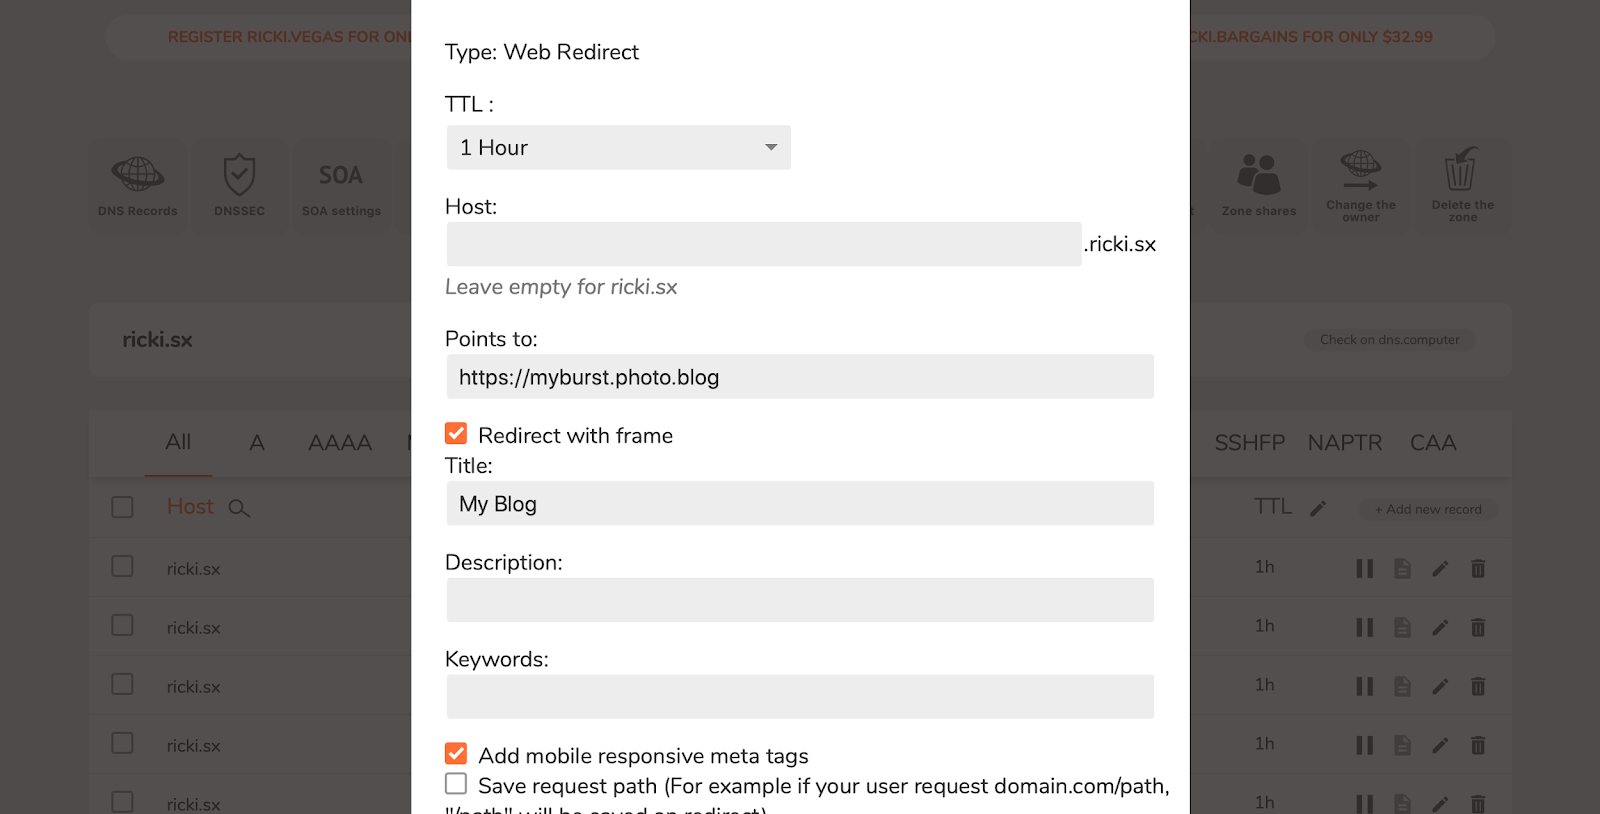
8. The final action, we want to do, is to edit the redirects and add “Redirect with frame.” This will make your visitors see just the redirected domain and not the original.
Ready.
Check our Premium DNS plans here!
Experience Industry-Leading DNS Speed with ClouDNS!
Ready for ultra-fast DNS service? Click to register and see the difference!
Set up a DNS zone for WordPress site on hosting with cPanel.
1. Go to your hosting account and log in. Write down the IP address. You will need it in step 6.
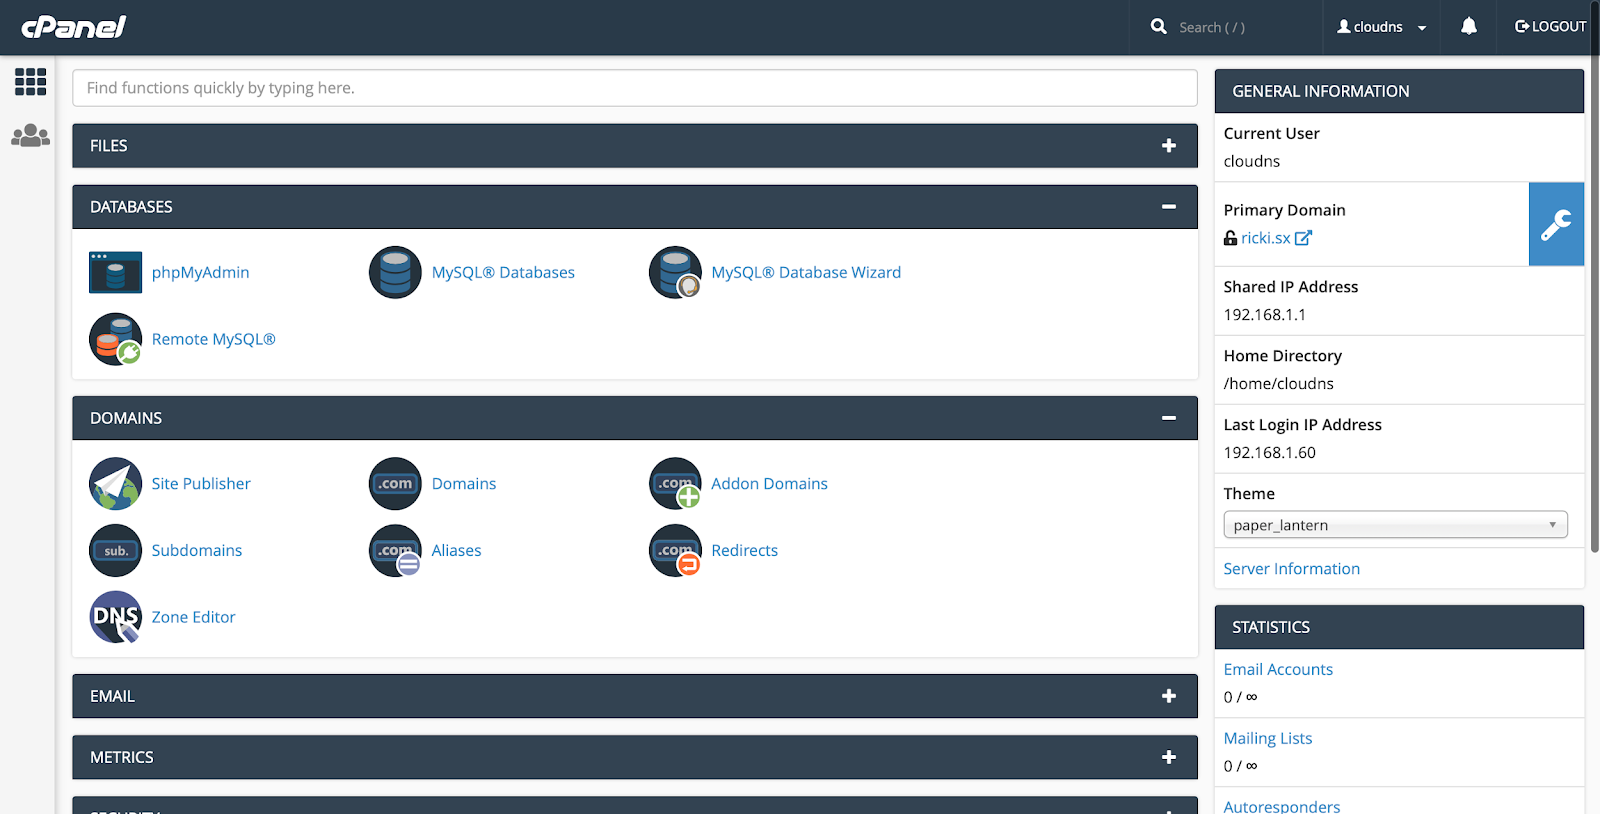
2. Enter the cPanel and click on the Addon Domains. Addon Domains let you control more than 1 domain for your hosting.
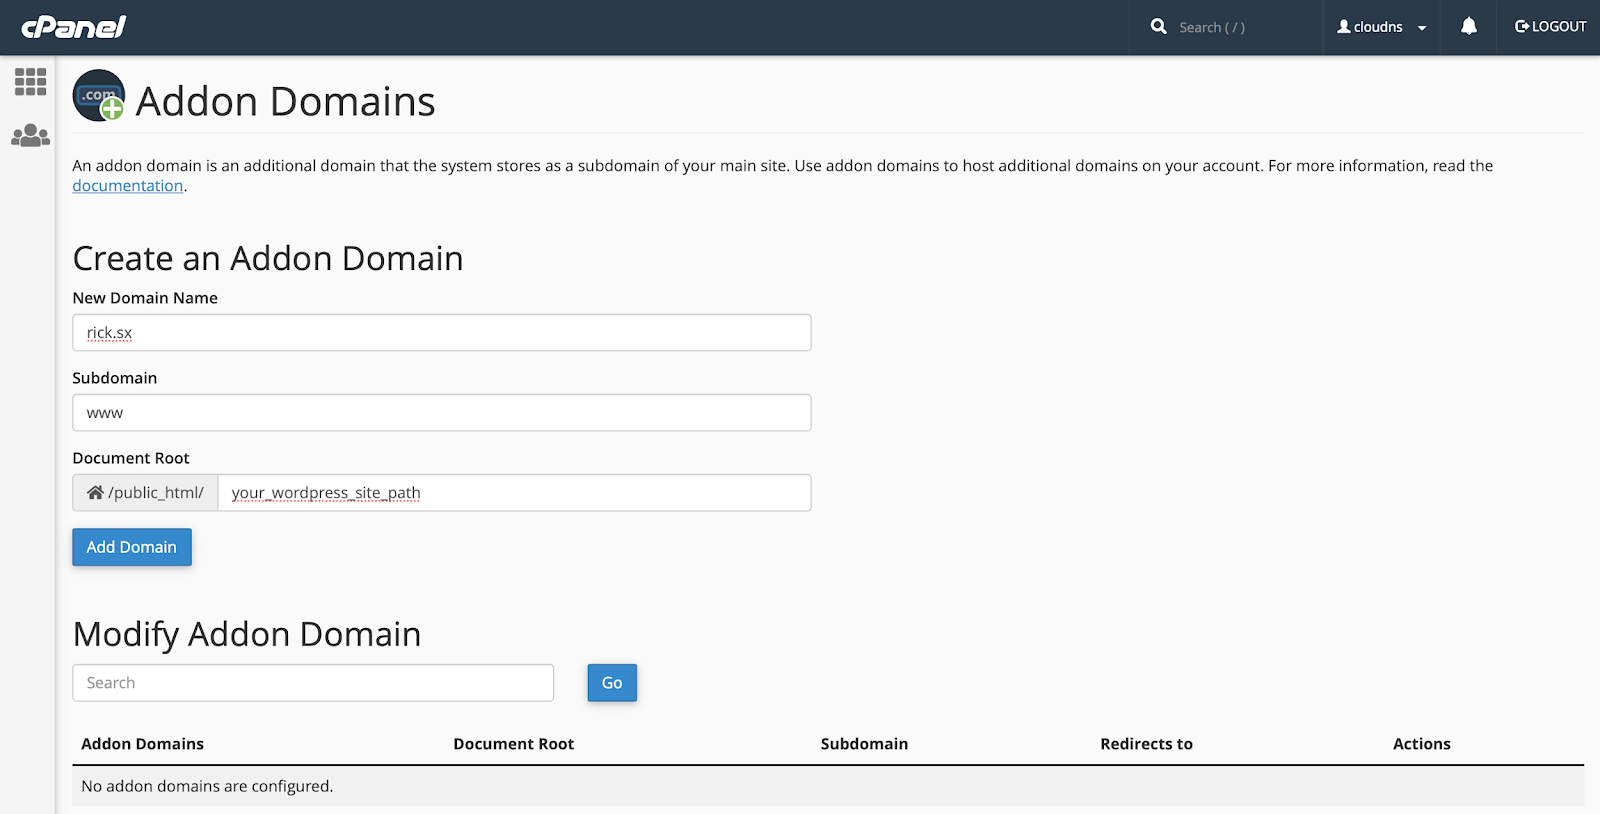
3. Now create an Addon Domain with the new domain name rick.sx and subdomain www.
4. Go to your Cloudns.net and log in.
5. Create a Master Zone, so later you can add DNS records.
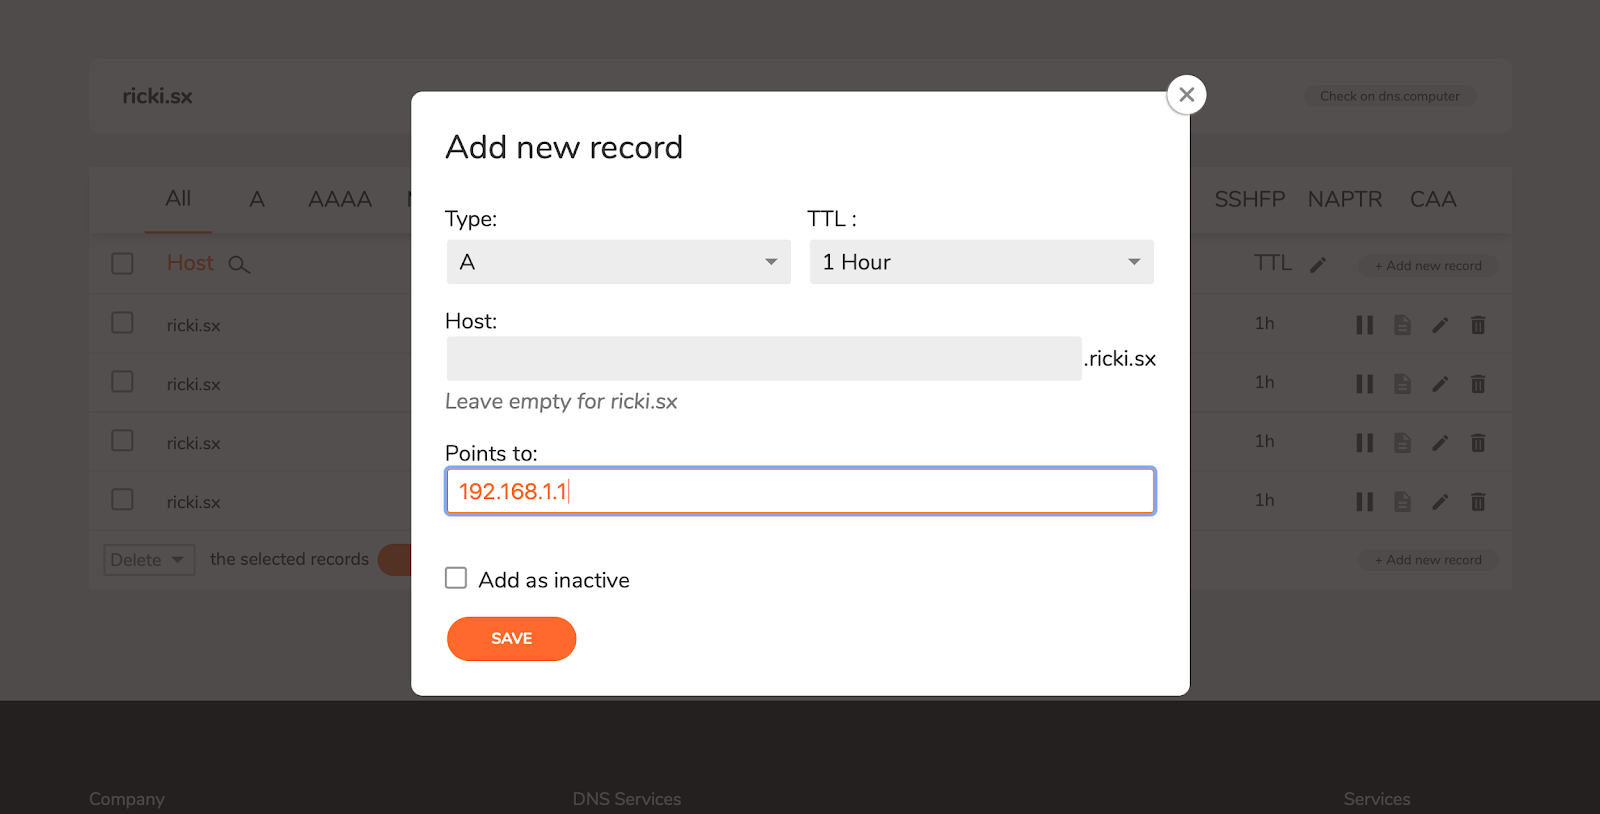
6. Create two A records. The first to direct from ricki.sx to the IP of the hosting (that one you wrote down back in step 1), and the second to direct from the www.ricki.sx to the same IP.
Ready!
How to verify your DNS zone setup
Once you have configured a DNS zone, verifying its setup ensures that your records are correctly propagated and resolved as expected.
Methods to Verify DNS Setup:
- Using nslookup (Windows, Linux, macOS):
nslookup yourdomain.com
This command checks if your domain resolves correctly to an IP address.
- Using dig (Linux/macOS):
dig yourdomain.com +short
This displays the current A record for your domain.
- Using ClouDNS Free DNS Tool:
You can also use the ClouDNS Free DNS Tool to check DNS records, measure DNS speed, and perform full audits. Simply enter your domain, select the type of test (DNS records, speed, or audit), and run the check to get instant results. This is an efficient way to confirm that your DNS settings are correct and fully propagated.
Suggested: DNS Troubleshooting – tools and commands
Conclusion
Setting up a DNS zone for your WordPress site is essential for ensuring your domain resolves correctly, whether hosted on WordPress.com or a cPanel-based provider. By following the outlined steps, you can configure your DNS records accurately, including A, CNAME, and MX records, to direct traffic properly. Once set up, verifying DNS propagation is crucial to confirm that the changes have taken effect, which can be done using tools like nslookup or dig. Proper DNS configuration helps improve website accessibility, load times, and email functionality while preventing potential connectivity issues.


Hello Martin,
Thanks for your explanation on how to set up a new DNS zone for a WordPress site through your informative article. I will look forward to making the best use of this informative guide for the WordPress projects further.
Thanks for any other fantastic article. The place else may anyone get that type of information in such a perfect method of writing?
I have a presentation subsequent week, and I am at the
look for such info.
Actually when someone doesn’t understand afterward its
up to other visitors that they will help, so here it takes place.
Wow, that’s what I was looking for, what a stuff!
existing here at this web site, thanks admin of this web page.
Hi there to every single one, it’s really a fastidious for me to go to see this
web page, it contains useful Information.